

Understand group permissions
The group permissions system controls what actions different members can take in a group chat. This guide explains how the system works conceptually. For practical code examples of managing roles and permissions, see Manage group chats.
Member statuses
Member statuses are the roles that can be assigned to each participant (inbox ID) in a group chat:
- Member - Everyone in a group chat is a member. A member can be granted admin or super admin status. If a member's admin or super admin status is removed, they are still a member of the group.
- Admin - Members with elevated permissions
- Super admin - Highest permission level with full control over the group
Options
Use options to assign a role to a permission. These are the available options:
- All members
- Admin only
- Includes super admins
- Super admin only
Permissions
Permissions are the actions a group chat participant can be allowed to take. These are the available permissions:
- Grant admin status to a member
- Remove admin status from a member
- Add a member to the group
- Remove a member from the group
- Update group metadata, such as group name, description, and image
- Update group permissions on an item-by-item basis, such as calling
updateNamePermissionorupdateAddMemberPermission. To learn more, see Group.kt in the xmtp-android SDK repo.
The following permissions can be assigned by super admins only. This helps ensure that a “regular” admin cannot remove the super admin or otherwise destroy a group.
- Grant super admin status to a member
- Remove super admin status from a member
- Update group permissions
How the group permissions system works
When a group is created, all groups have the same initial member "roles" set:
- There is one super admin, and it is the group creator
- There are no admins
- Each user added to the group starts out as a member
The super admin has all of the available permissions and can use them to adjust the group's permissions and options.
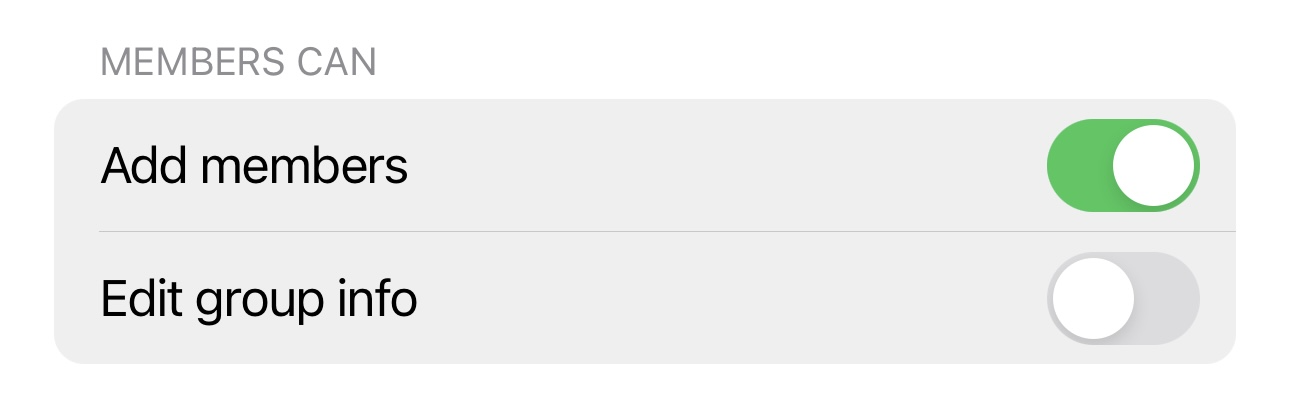
The app's developer can provide a UI that enables group participants to make further adjustments. For example, they can give the super admin the following permission options for group members when creating the group:
- Add members
- Update group metadata
You can use member statuses, options, and permissions to create a custom policy set. The following table represents the valid policy options for each of the permissions:
| Permission | Allow all | Deny all | Admin only | Super admin only |
|---|---|---|---|---|
| Add member | ✅ | ✅ | ✅ | ✅ |
| Remove member | ✅ | ✅ | ✅ | ✅ |
| Add admin | ❌ | ✅ | ✅ | ✅ |
| Remove admin | ❌ | ✅ | ✅ | ✅ |
| Update group permissions | ❌ | ❌ | ❌ | ✅ |
| Update group metadata | ✅ | ✅ | ✅ | ✅ |
If you aren't opinionated and don't set any permissions and options, groups will default to using the delivered All_Members policy set, which applies the following permissions and options:
- Add member - All members
- Remove member - Admin only
- Add admin - Super admin only
- Remove admin - Super admin only
- Update group permissions - Super admin only
- Update group metadata - All members
To learn more about the All_Members and Admin_Only policy sets, see group_permissions.rs in the LibXMTP repo.
Next steps
Now that you understand how the permission system works, see Manage group chats for practical code examples of:
- Adding and removing members
- Assigning roles
- Managing group metadata